Showing posts with label Fall. Show all posts

Wednesday, November 26, 2014

Wow and Happy Thanksgiving.

Um, hi, hello. I know we have been absent. I know we (mostly me) keep saying we'll post this or that and then silence for months. But people are visiting! Thank you. More than 100 people a day are here visiting our site and I am just so surprised! 
 I know Thanksgiving is tomorrow, so there is not a lot of time to create before the big day, but when your tummies are full or while waiting to eat, here are a few things we've done in my preschool class (follow me on Instagram if you like).
 It all started with the mayflower. This one is quick and requires little, plus there is the fun memento of your kiddo's little hand forever printed on the page. We just used half a sheet of light blue construction paper, had the kids draw on white clouds and blue water (or whatever they wanted, which DID include Elsa!) Then paint one hand brown and plop it on the paper for your boast and masts. Then glue on little white squares for sails. I think I originally saw this in Family Fun magazine. I will go back and check.
 The turkey gets a lot of play this time of year, however I am pretty certain he never looks like this when I'm about to chow at Thanksgiving dinner. Another simple project. Cut a cheap paper plate in half, glue a peanut  shaped (or whatever shape you want your turkey body to be) piece of brown paper to it. If you just draw the shape, the little ones can cut it our themselves. Draw in features (or use other materials - orange paper for a beak, googly eyes, even yarn for that red thing by their beaks). the next part can be done with construction paper, but I think it looks best with tissue paper. Voila! Turkey!
 We talked in class about how the Wampanoag Indians helped the pilgrims and taught them about corn. The kids explored the kernels, removed them from the cob, and we also compared field corn to popcorn. Then I air popped a batch of popcorn. 
I was able to use Indian Corn last year which added in a fun dimension and I even popped it in the microwave to show that even corn on the cob can pop!
We used both the popped corn and the field corn kernels (popcorn kernels would clearly work too) to create out own harvested corn. I just eyeballed the shapes for the cob and the husks and let them glue everything on however they thought it best.
 This one is pretty standard this time of year. You can add on some feet, a beak, eyes and all that fun stuff to make it even more fancy.
 I'll have to look up where I got this idea too, but it is a turkey handshake. First we just started with making it on our own hands before trying to make one with a friend. The open hand is the feathers and the "thumbs up" on its side is the body and head. the kids like this a lot.
 I always love a little bit on Montessori style work in my classroom. This is not just a simple transferring activity. It also can be an introduction to how cranberries are harvested and show that they float (maybe a little sink or float question before filling the bowl up?). There are 3 different utensils I put out for them to transfer with - all bought at the thrift store. The spoon is slotted so the water doesn't really transfer along.
This can also just be done with a bowl and any sort of sectioned off container, like an ice cube tray, using the fingers to transfer. This is also good as a sensory activity.
The last one I have for today is this story telling bracelet and poem from Dr. Jean. It's a good way for the kids to have a visual way to remember how the first Thanksgiving came to be.
Have a wonderful Thanksgiving and thank you so much for visiting our blog.

Friday, September 21, 2012

Food Friday- Halloween Popcorn Crunch Bark


 I know it isn't Halloween yet, but around my house I want to celebrate Halloween all year long, so if we are this close to Halloween, I go into full Halloween mode.  I saw a few different Halloween snack ideas I wanted to try and I noticed that lots of them had similar ingredients. I wanted to try each of them and then got a wild idea to MIX all three of them. The end result was yummy, but I would still like to try them separately some time. Beware this might be sugar overload. We have enjoyed the treat and experiment. Here are the three recipes I pulled my mix from:


This should also explain why I have this snack title such a long name. If you look at the full recipes for each of these three treats, you will see that I didn't use Butterfingers and Oreos. For starters, I didn't have any, and secondly, I thought we probably had enough chocolate and flavorings going on.

 
Here are the supplies I DID use (remember, I said yummy not healthy. haha):
-Wax paper
-Cookie sheet
-Melt-able chocolate
-Almond Bark
-Candy Corn
-Almonds (these were the only nuts I had and they were smokehouse flavored, which was a weird flavor to add. I would not recommend smokehouse almonds, but definitely regular almonds or peanuts would be great)
-Toffee Bites
-Reese's chips or actual Reese's pieces (we were sort of cleaning out the cupboard of random supplies. i.e. VALENTINE'S Reese's pieces. haha)
-Pretzels (I would recommend the sticks. Ours were a little stale so I had to just break up the pretzel twists we had that weren't stale. The pretzels had a much needed and yummy crunch to the snack that I wouldn't omit.)
-Popcorn
-Peanut M&Ms (we used Halloween colored ones for more fun)
-Halloween sprinkles
 
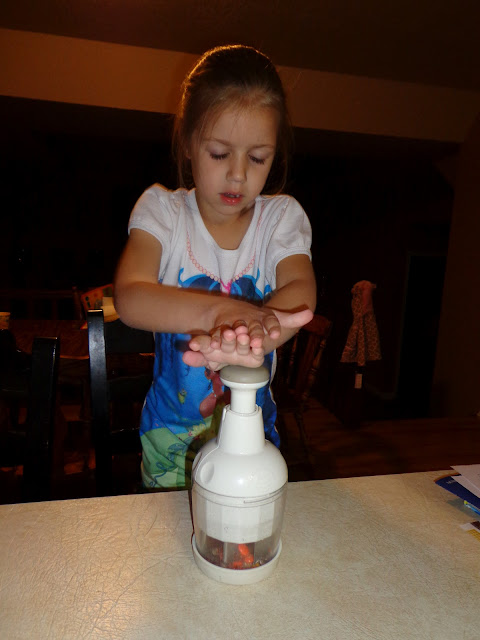
 We got all our toppings chopped that needed chopping: pretzels, some M&Ms. In retrospect you wouldn't have to chop anything as long as you used the stick pretzels. We over chopped some of our items unnecessarily.
 We heated enough chocolate  to make a thin layer along the wax papered cookie sheet. Then you have to act real fast as you spread all the ingredients except the popcorn, almond bark, and Halloween sprinkles because you want all of it to stick to the chocolate before it hardens.
 Here is the chocolate bark of goodness. In retrospect I should have put this pan into the fridge or freezer to cool all the way so the chocolate was all the way hardened. It would have made for a less soupy looking finished product, and again, I over chopped some items.
 Pop the popcorn while the assistants lick the chocolate bowl. :) Again, in retrospect I should have let the popcorn cool all the way so that I could have added cooled off popcorn to cooled chocolate so there would be no messy chocolate melting happening.  It would have made it much cuter in the end too.
 Break the bark and popcorn into chunks and drizzle the melted almond bark over the whole mixture, mixing the popcorn and chocolate bark as you pour the almond bark on.
 While the almond bark is still warm, sprinkle the Halloween sprinkles.
 I then spread it all back onto wax paper and put it in the freezer to harden.
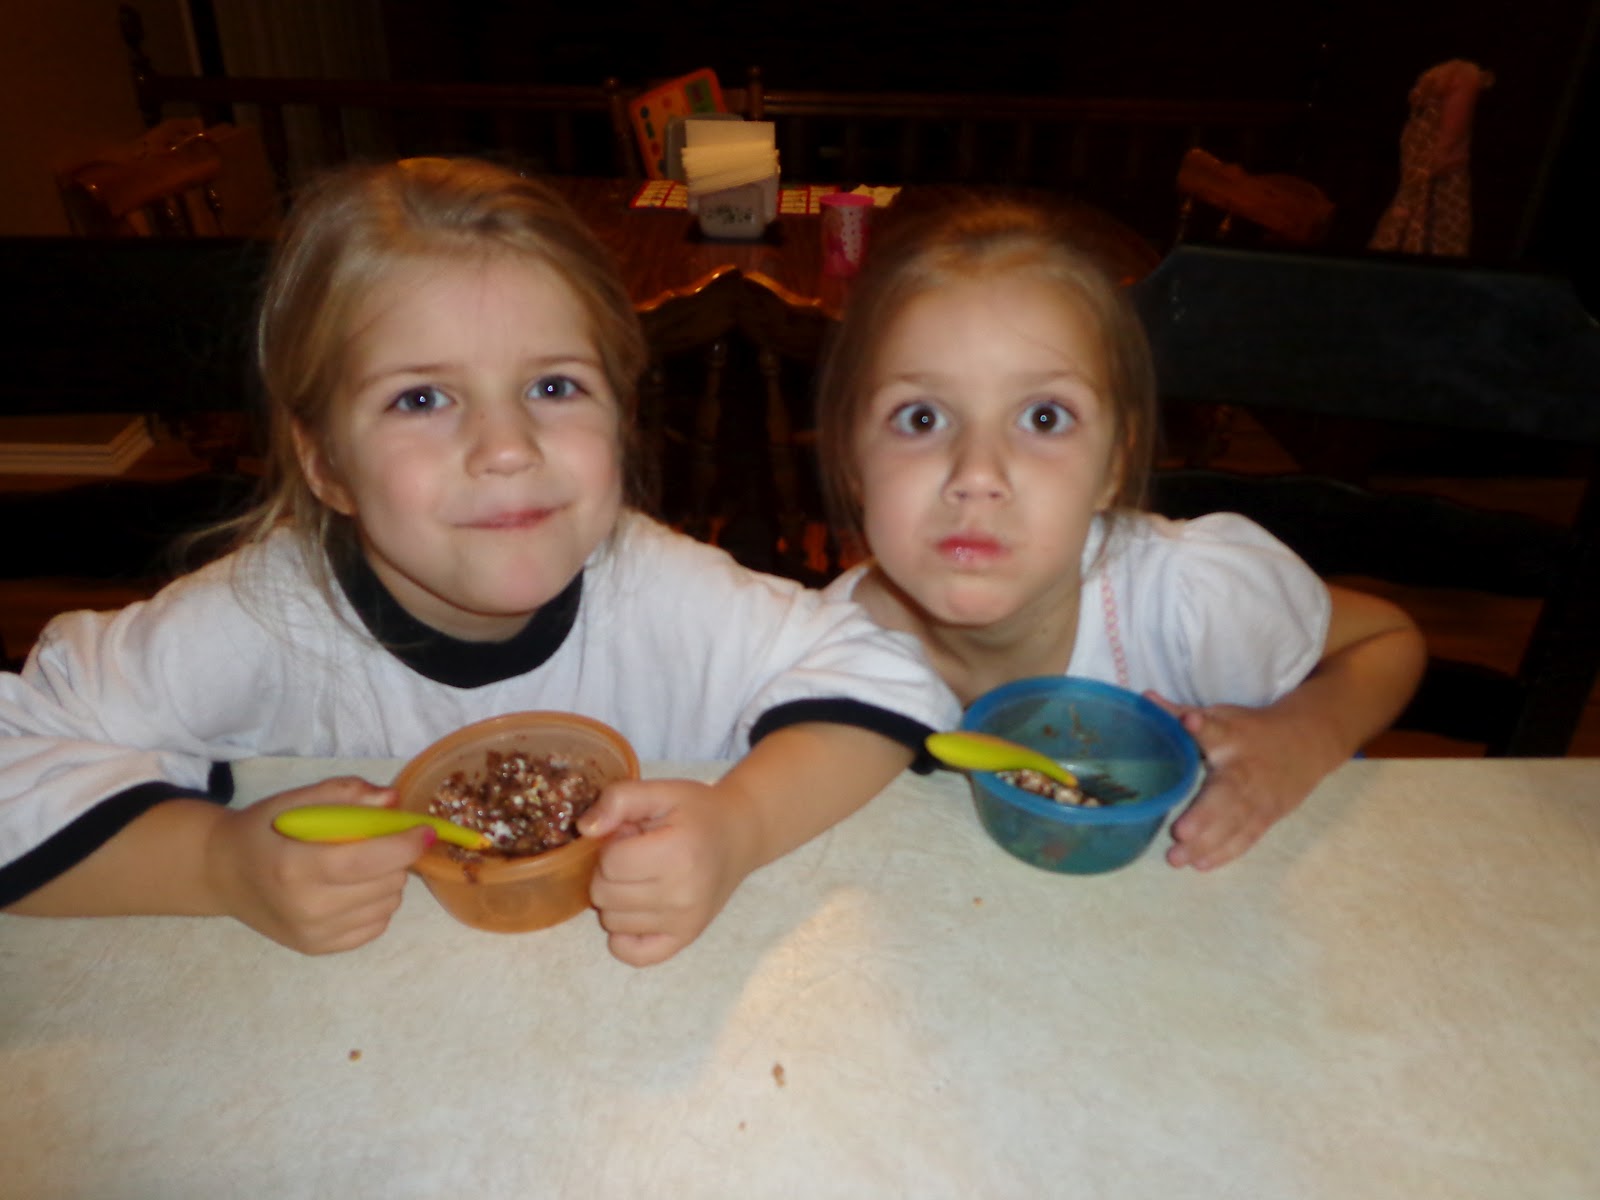
Then we ate our delicious treats. Again, the only mistake besides the smokehouse pretzels was not letting the different items cool before mixing it together. It tasted yummy regardless.

Monday, November 21, 2011

Fall Pumpkin Seed Art

You can use any large seeds like those from a pie pumpkin, or hard squash that you may have from cooking this fall. Dying them is simple. 
To make some fun art project, all you need is:
 *dried pumpkin seeds
*food coloring
*vinegar
*cardstock
*glue
Place 1/4 to 1/2 cup water in small cups. 
Add 1 Tablespoon of vinegar, and several drops of food coloring to the cups. 

Add seeds to bowls of colors.  
Allow the dried seeds to soak in the colored water for 2 to 4 hours
, then remove them from the water & allow them to dry over night. You then have a colorful, natural, free, craft item. 
You can make mosaics or necklaces with them. Some will dye a solid color & others will be speckled.   
 We divided the different colors out for each kids - gave them some paper and glue and let them create away. 

The kids added some fun details with markers. 
 They said they liked working with the seeds a lot and made some pretty cute art pieces.  It was fun to see how different each child's turned out.


Saturday, November 19, 2011

Food Friday "Thanksgiving Cookies"

Here's our "Food Friday"  posted a little late...

We had some fun the other day with a little twist on making sugar cookies. 

Supplies are as follows:
*Sugar Cookie dough
*Food Coloring
*Cookie Cutters

You can make dough from scratch if you like - we took the easy way and made ours from a mix.  

Make dough.  Divide into four batches and tint each with food coloring. 
Chill dough for about 15 minutes

Create a multicolored patchwork by pressing pieces from each batch together on lightly floured surface. The kids pinched off small pieces of each color of dough.  We tried to be as random as we could.  
As we pinched off each tiny piece we each said something we were grateful for.  After a while the kids were really on a roll with the gratitude!
Squish pieces together to form one pile.  Smooth with rolling pin (we just pressed it out with our fingers) 

Then cut out shapes with cookie cutters.  
We used some some mini fall cookies cutters we had.
Place on cookie sheets

And bake according to recipes
 instructions.

ENJOY!!!