Showing posts with label Garbage Goodies. Show all posts

Thursday, September 20, 2012

Going on a (Paper) Picnic

  Sometimes it is fun to make a special date for a stuffed animal. Even if they can't really eat, why not take them on a picnic? I saw this idea for "flat food," (as they called it) in the book The 2,000 Best Games and Activities.  
 They suggest cutting out food and give some ideas of what you can do once you have them glued down. We opted to make a date with the boys' favorite stuffed animals and go to the park and have a (paper) picnic.
It's really simple. Just find some old magazine with pictures of food in them. A magazine with recipes might be good, but even just simple ads are also a great resource. A little glue, paper plates and scissors, and you are all set!
The kiddos looked through some magazines for food that they thought their animals might like, or maybe they just thought they looked good! They worked their scissor skills as they cut the pictures out.
Next up was arranging them on the plates and gluing them down.
Once they are dry, grab your stuffed friends, head to a park or backyard or even just the living room. 
Then let them enjoy! (It is probably a little more fun if the kids have something real to eat too.)
My boys have liked doing special things for/with their stuffed animals. One of them apparently was having his birthday last week, so the kids asked if we would sing "Happy Birthday" to the animal. 
One of our local libraries also has a fun thing they do in the summer where the kids can drop off their animals for a sleepover. When we pick them up in the morning, there is a video of all the silly things they did all night away from the humans. (In fact, if you are curious, you can watch the video HERE. The kids LOVED it!) Stuffed animals can sometimes be an extension of a child and at least in our house, I feel like it is important to treat them nicely. These two - Peng and Bun are often doing things that are far naughtier than my kids will do, but somehow being able to have their animals be that way helps them. I'm no pro about this, just stuff I have noticed. Anyway, try out the picnic. Any time of year will work depending on where they take their little plates of food.

Saturday, August 25, 2012

Time Out/Calm Down Bottles

 I have seen this idea a few places, but the main site I used for my instructions was here. The idea is that you make this awesome glitter bottle for your child and you shake it up and hand it to them when they go to time out or just need some relaxing or calming down time and when all the glitter has settled then they are out of time out or ready to come back to being with the family. I have a little one that sometimes has a hard time verbalizing her frustration and gets a bit upset about stuff and I figured this would be perfect. I idea for her was more just that giving her something to distract herself would help her collect herself and calm down until she could handle things more reasonably. I have really liked it so far and it works.
 
Supplies (I made two different ones):
-Plastic bottle (I used a Wal-mart brand sparkling flavored water bottle. The instructions I read used a Smart water bottle)
-Glitter Glue (I could have used more glitter glue for as big of a plastic bottle as I used).
-Goo Gone to remove you bottle label.
-Super glue
-Clear Gel tacky glue (I bought mine in the craft section of Wal-mart)
-Water
-Stirring stick
  
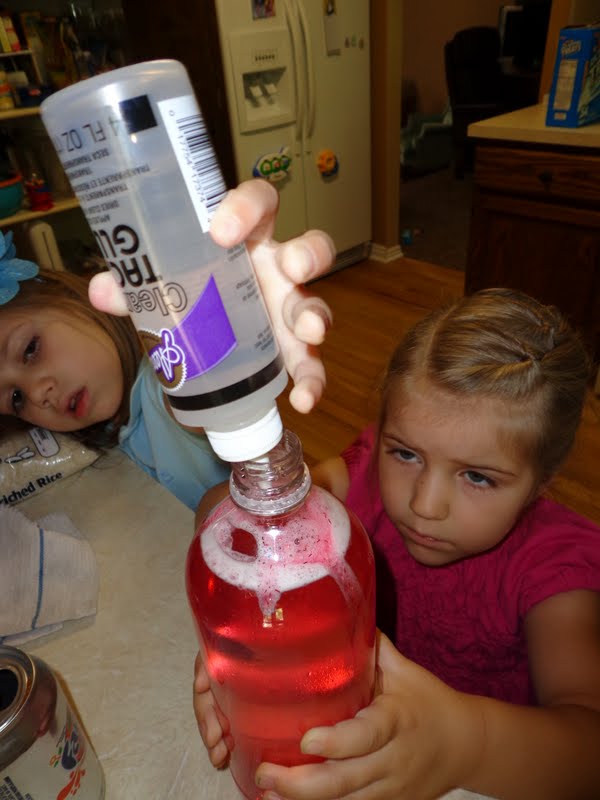
After I Goo Gone-ed our labels off, I filled the bottle half way with hot water. I had read that if you use hot water that is helps the glitter glue mix is better. The girls added their glitter glue. They each used the full bottle, and like I said, we could have used more.
 We filled it closer to the top with more hot water and stirred the glue around to mix it up.
 Added our Tacky Glue. This part of sort of a bit of trial and error. I would add some, put the lid on the bottle, shake it up (yes, it leaked a little since the lid wasn't glued on) and time how long it would take the glitter to settle. I was aiming for about 5 minutes because the seemed about the right amount of time for my daughter to calm down. I later learned that after the bottle is complete and been sitting for a day or so that it thickens just a bit and so mine actually timers longer than 5 minutes now, but it still gets the job done. Once you have added enough to make the glitter settle at whatever time you are going for, make sure your water is to the top and put the lid on. (I think I maybe half a bottle of this tacky glue stuff between my two calm down bottles.)
I used just dollar store super glue to glue the lids on and that has worked perfect. We have dropped the bottle, rolled it, shaken it, etc and there hasn't been any leaking.
 Here is a bad picture of the settled version on the left and the mixed version on the right. More glitter would have been better, but it is still cool.
We discovered they looked super awesome in the sun when they were all shaken up. The girls had fun making them and they serve a good purpose in our house. I consider it a double success.

Thursday, March 15, 2012

Soda Bottle Art

It is finally start to feel like Spring around these parts.  
So the kids and I attempted making some Spring Blossoms with Soda Bottles.  

I had seen the idea here and thought we'd give it a try.


Supplies:
Empty 2 litter bottles
paint and brushes
poster board
paper plates

We first started making the branches for our flowers to go on. 
I loved seeing the different variations of this from the kids...
Then it was time to create colors.  I bought just the primary colors of Red, Yellow, and Blue so the kids could learn what makes purple or orange or green.  
This was a fun part for them as they created just the exact shade they wanted.
 Then we dipped the bottom of the pop bottles in the paint and created some fun spring blossoms.
 The thicker the paint - the larger the blossoms.
We would wash off the bottom of the soda bottle when we wanted to change colors.
It was a fun Spring Fever craft for the kids.

Saturday, October 29, 2011

Monsters!

Halloween is descending upon us quickly - but we wanted to get a few fun crafts in before it was too late.  So one of our activities was making MONSTERS.(idea from Here)

First we gathered several tissue boxes, paint, egg carton, and some card stock.

The kids decorated the Monster "fur".  I had seen this done with fun polka dots - but I let the kids do it however they wanted.  


We bought primary colors of paint - Red, Yellow, & Blue and I love that they can then create their own colors from them.  A little learning while crafting is always great!


After the exterior was monstrously beautified, we started making scary teeth with the card stock.

It was fun to see how different each of the kids made their monsters.  Kennedy's teeth were hilarious.

We taped the teeth inside and then started working on Monster Eyes

Everyone had different ideas on how to make their eyes.  We let the creativity flow.  Some used egg cartons and other's found some little cardboard tubes I was tossing and turned them into ocular creations.


And the final results of our Monster Tissue Box crafting was.......


It was a fun simple project perfect for a fall afternoon.


Tuesday, August 23, 2011

Bionic Binoculars


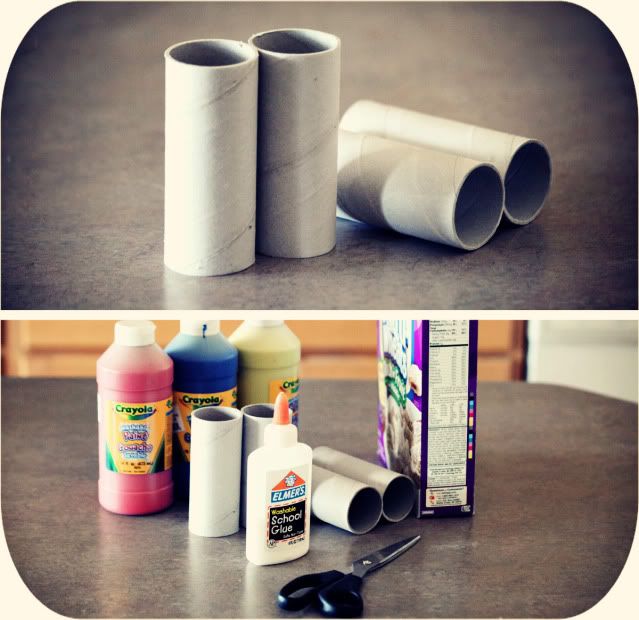
Garbage goodies - toilet paper rolls

•2 Cardboard Toilet Paper Rolls
•Small Piece of Lightweight Cardboard (From a Cereal Box, Etc.)
•Paint
•School Glue
•Scissors

We started with 2 sturdy toilet paper rolls per person.
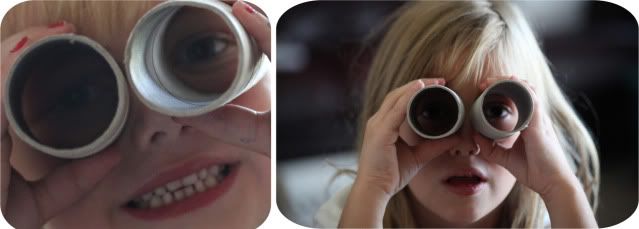
First we had to make sure to check that they would fit just right :)

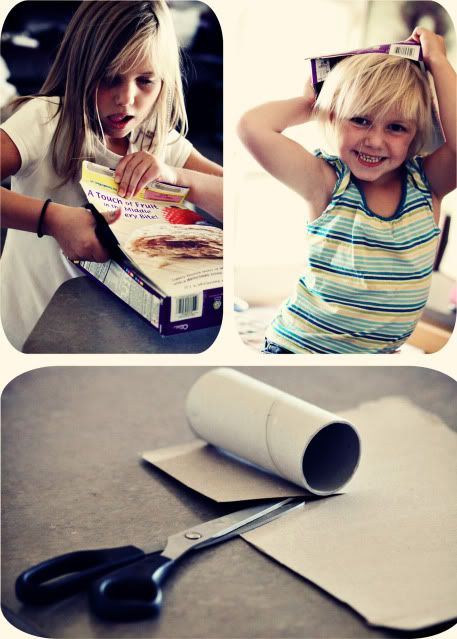
Next cut apart the back of an old cereal box. Then we measured the length of the toilet paper roll and cut across the piece of cardboard accordingly - But only after we first used the rest of the cereal box as a funny wig (that was unplanned - but made the girls giggle for a good 5 minutes as they tried it on over and over again).

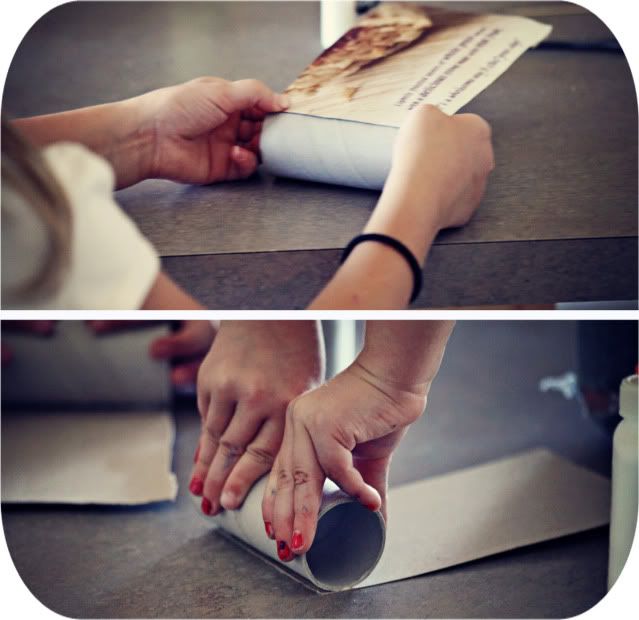
The girls glued the cardboard on and held tight.

It soon became obvious that we would get a better hold if we used clothespins to hold them tight while they dried.

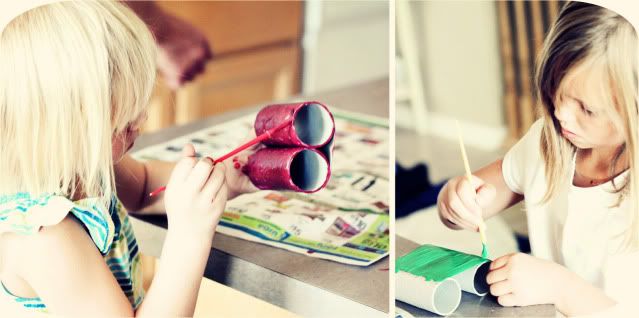
Once we had the all clear on the gluing - the girls set in to paint the exterior of the binoculars.
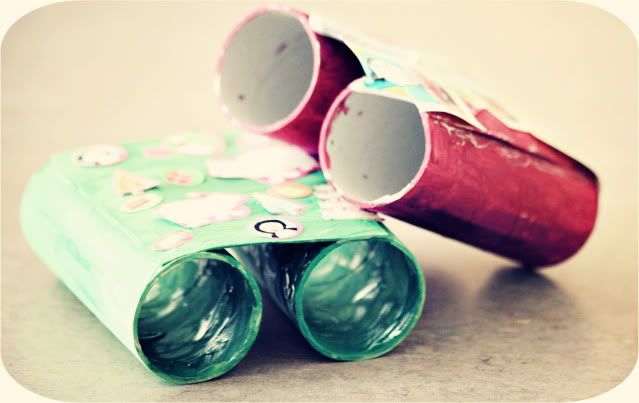
We decided it would be fun to put stickers on the outside - so when their coat of paint dried they were liberal with the "stickering" - Now they are off to go spy on their friends.