

Yes, Christmas is only a few days away. It may feels like a short time for you, but for a kid those are a LONG few days. It was with this in mind that made me go ahead and do a few Christmas projects I'd figured we had run out of time for.
 |
| from I Can Teach My Child |
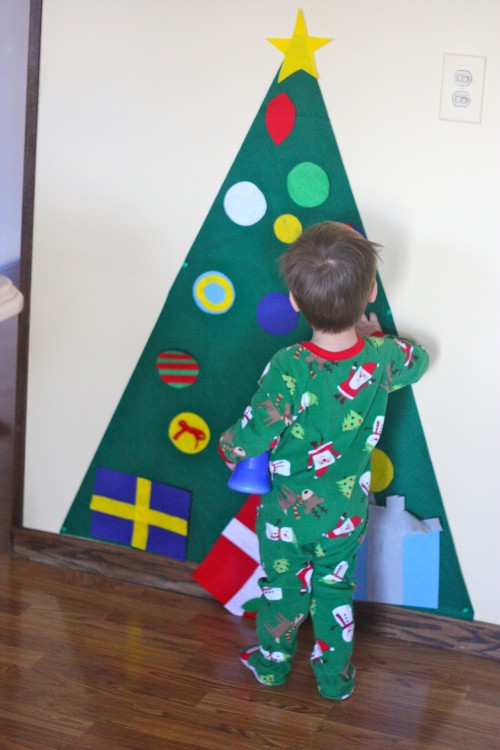
I've been wanting to make Christmas tree advent calendar for a few years. I loved the one we had while I was growing up. Every year December 1st comes along so quickly that I haven't gotten to it yet. So, when I saw this idea I thought that it was a perfect temporary version of the tree. BUT, I'd have to go buy a big piece of flannel and another errand was not something I wanted to add to my endless "to do" list. I had a few other solutions running through my mind when I saw this magnet idea on Young House Love and my ideas all came together as a real project.

I just happened to have some small plastic ornaments that I bought last year. I used about half to fancy up the wreath on my door and used what was left over. Add in some magnets and strong glue and you are ready for half of the project. This could be the end of the project too if you liked.

My son and I glued the magnets on the ornaments and set them in an egg carton to dry. (The few that had glitter on the surface have not held together as well as the plain ones.)

Once dried they found a new home on the fridge.

Like I said above, the project could end here because not only are they festive on the fridge alone, but are fun for kids to arrange and re-arrange. But, I took it a step further.

Awhile back I had seen an idea for painting contact paper and using it as temporary decals on the wall. I don't remember what the original link was, but used this one from 31 DYI. When the tempera paint I used above dried all flaky, I referenced the website and saw that she used acrylic paint. So, ignore the tempera above and replace it with regular craft paint. Also, I had both clear and white contact paper. Either would work, but I chose the white since I think I have more other uses for the clear.

Anyway, sketch out a triangle for your tree (measure your space first) or just eyeball it and begin to paint.

Enlist a small helped to make creating the project a kid thing too, not just the final product. (I admit, I did go back over her painting to make the brushstrokes look more pine tree-like.)

Once the paint is dry, just cut out your tree and carefully pull of the backing on the contact paper. I started at the top and pressed it down on the fridge as I went.

Add the ornaments and it's time to play!
I have 2 other Christmas projects we did this past week, but I'm not sure If I will have time to post before Christmas, so I may post them after Christmas or just hold on to them until next year. Any preferences?

No comments:
Post a Comment