Showing posts with label Food. Show all posts

Monday, July 1, 2013

Frozen Bananas!

We've been re-watching "Arrested Development" around here so we can finally watch the new episodes and if you are a fan of the show, hearing "frozen bananas" likely makes you immediately think of the Bluth's banana stand. And we all know - "there's always money in a banana stand!"
 If you have not tried this yet, you must! They are easy to make and really nice to eat on a hot day. . . or even a not so hot day.
Get a bunch of bananas. Have your helpers peel them (good fine motor skill work!). Break or cut them in half (or smaller if you want to do bite sized.)
Stick a popsicle stick in each banana.
Put the bananas on a wax paper lined cookie sheet. From here there are two methods. If you use the Magic Shell version (explained below) freeze them now. If not, get dipping.
To dip the bananas you can either just carefully melt chocolate chips and dip the bananas in that. We actually used some homemade "Magic Shell" topping. We used the recipe from Our Best Bites.
With either chocolate method, once dipped, transfer the bananas to cookie sheet. The magic shell topping will harden pretty quickly, so if you do that method, work quickly, adding toppings (peanuts, sprinkles, whatever). With regular chocolate you can work less hasty because your chocolate it not going to harden yet.
If you magic shelled you can eat now. If you didn't, stick those bananas in the freezer long enough for the chocolate to freeze,
Such a great summer treat!

Wednesday, December 5, 2012

Candy Cane Marshmallow Dipper


 We were trying to think of an easy and fairly quick treat to make together the other night. I had seen this idea here for making these candy cane "pops", as they called them, to use with hot chocolate and thought it would be perfect. My kids and I are big fans of hot chocolate. 
Supplies:
-Large marshmallows
-Small candy canes
-Wax paper
-Hot chocolate of your choice
-Rolling Pin
-Chocolate for melting (I used these chocolate chips, but in the future I would use normal candy making melting chocolates)
 
As I frequently mention, I like to see what fine motor skills practice we can get in during our projects and this time I was surprised to note how hard it was for my girls to get the candy canes out of the little packages without breaking them. 
 
We opted to use scissors to open them (which is still fine motor practice, I guess). :) So we unwrapped a  bunch of little candy canes.
 We used a rolling pin to crush a bunch of still wrapped other candy canes.
 We then stuck the long end of the candy cane into a big marshmallow. They liked this step. I was surprised that even my 2 year old could do this step well.
 
We laid out wax paper, put our crushed candy cane bits on a plate and melted our bowl of chocolate chips. I made sure our center was all ready to go before we melted the chocolate because I know how fast that melted chocolate will harden.
 Like I said before, I wouldn't use chocolate chips again. I think I over heated the chocolate because it wasn't smooth after I heated it. Ours got kind of clumpy so we couldn't just dip the marshmallow. We had to sort of "paint" or spread the chocolate on. It was fine because they still thought it was fun.
 Immediately after they spread the chocolate they  rolled the chocolate covered marshmallow into the crushed candy cane bits.
 Ta-da! I thought they turned out pretty cute, even if our chocolate was a little weird.
 The kids loved them and dipped them in their hot chocolate then would eat part of it and then dip it again. I opted to dump my whole thing into the mug and let it melt to add some yummy flavor to my hot chocolate. We put the rest that we made into a baggie and froze them until all the way cooled and hardened and have them ready to use for our next hot chocolate drinks. It was a hit and I would definitely make them again. They would also make really cute neighbor or teacher gifts.

Monday, November 19, 2012

Thanksgiving Cornucopia Treat

In our family growing up we always baked pumpkin bread as a family and sat down at the table to write thank you notes to teachers, neighbors, friends, etc to attach to the loaves of pumpkin bread that we would deliver right around Thanksgiving. It was a good chance for us as kids to think about who we were grateful for and actual have to tell people "thank you." I had great intentions of doing this with my own little family (we have only done it a couple times with my own kids) but I didn't quite make it that far this year. Instead we went with a quicker, fun idea I saw here. The kids loved putting these little cornucopia treat bags together for their teachers, bus driver, and family.

Items Needed:
-Bugles
-Runts candy
-Snack bags
-Thanksgiving or Thank you note. I used the template from the site I got the idea from. Here
-Stapler
-Ignore the Skittles in my pictures. I was going to use them as filler for the bags, but I didn't end up needing them.
 We filled the bags with the Runts
 and the Bugles.
 The girls cut apart their "Happy Thanksgiving" tags. I hadn't intended for this treat/project to turn into a fine-motor skills activity but it did between sealing closed ziplock bags, cutting, writing, folding paper, and using the stapler.
 They signed the tags and folded them.
 
They got a workout trying to get the stapler to actually staple properly. It was a good learning experience. (I folded the sides if the top of the ziplock bag in to be the same width as our tags.)
 
Ta-da! The girls loved the activity and are very excited to hand them out tomorrow. Maybe next year I will be more ambitious and we will get to that pumpkin bread, but for this year, this will do just fine. ;)
 

Friday, November 9, 2012

Food Friday- Chocolate Chip Reese's Puff Treats


When I saw this treat here I thought, "what a wonderful and delicious sounding treat." It sort of felt like a Halloween season type treat, but we didn't make it to making it before Halloween, so now I think, "What a great Thanksgiving type treat." ;) 
 Chocolate Chip Reese's Puffs Treats

Ingredients:
-7 Cups Reese's Puffs Cereal
-4 oz Box of Reese's Pieces
-12 oz Bag of mini marshmallows 
(I used a couple bags of different left over marshmallows I had)
-4 T Butter/Margarine
-Cooking Spray
-Chocolate Chips (The recipe I saw didn't have chocolate in it, but I love peanut butter and chocolate together and had to try it)


We measured out the Reese's Puffs cereal into a big bowl
 
Melt the butter and marshmallows until melted and smooth, but don't over cook it.
  
Pour the marshmallows and butter into the Reese's Puffs bowl and mix
Quickly add 2/3 of the box of Reese's Pieces and a few handfuls of chocolate chips. They will melt a little, but that is the idea.
 Smooth the mixture into a greased 9x13 pan
 Add the rest of the Reese's Pieces and a few more chocolate chips to the top of the mixture and then start your mouth-watering stares.
 Because we are impatient and it was WAY passed bedtime we put ours in the freezer to harden a little.
 I must say, it was DELICIOUS!!!! Quite rich, but delicious. I recommend a large glass of cold milk with it. It really was yummy and the kids loved it too and it was super easy. We will be repeating this one. I think the chocolate really added something to it too.

Friday, September 21, 2012

Food Friday- Halloween Popcorn Crunch Bark


 I know it isn't Halloween yet, but around my house I want to celebrate Halloween all year long, so if we are this close to Halloween, I go into full Halloween mode.  I saw a few different Halloween snack ideas I wanted to try and I noticed that lots of them had similar ingredients. I wanted to try each of them and then got a wild idea to MIX all three of them. The end result was yummy, but I would still like to try them separately some time. Beware this might be sugar overload. We have enjoyed the treat and experiment. Here are the three recipes I pulled my mix from:


This should also explain why I have this snack title such a long name. If you look at the full recipes for each of these three treats, you will see that I didn't use Butterfingers and Oreos. For starters, I didn't have any, and secondly, I thought we probably had enough chocolate and flavorings going on.

 
Here are the supplies I DID use (remember, I said yummy not healthy. haha):
-Wax paper
-Cookie sheet
-Melt-able chocolate
-Almond Bark
-Candy Corn
-Almonds (these were the only nuts I had and they were smokehouse flavored, which was a weird flavor to add. I would not recommend smokehouse almonds, but definitely regular almonds or peanuts would be great)
-Toffee Bites
-Reese's chips or actual Reese's pieces (we were sort of cleaning out the cupboard of random supplies. i.e. VALENTINE'S Reese's pieces. haha)
-Pretzels (I would recommend the sticks. Ours were a little stale so I had to just break up the pretzel twists we had that weren't stale. The pretzels had a much needed and yummy crunch to the snack that I wouldn't omit.)
-Popcorn
-Peanut M&Ms (we used Halloween colored ones for more fun)
-Halloween sprinkles
 
 We got all our toppings chopped that needed chopping: pretzels, some M&Ms. In retrospect you wouldn't have to chop anything as long as you used the stick pretzels. We over chopped some of our items unnecessarily.
 We heated enough chocolate  to make a thin layer along the wax papered cookie sheet. Then you have to act real fast as you spread all the ingredients except the popcorn, almond bark, and Halloween sprinkles because you want all of it to stick to the chocolate before it hardens.
 Here is the chocolate bark of goodness. In retrospect I should have put this pan into the fridge or freezer to cool all the way so the chocolate was all the way hardened. It would have made for a less soupy looking finished product, and again, I over chopped some items.
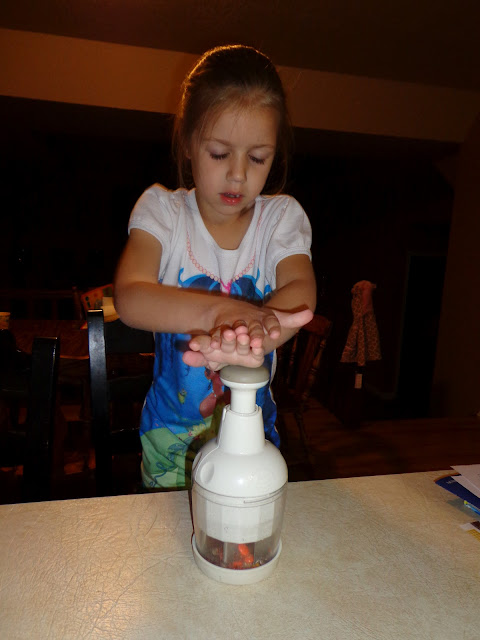
 Pop the popcorn while the assistants lick the chocolate bowl. :) Again, in retrospect I should have let the popcorn cool all the way so that I could have added cooled off popcorn to cooled chocolate so there would be no messy chocolate melting happening.  It would have made it much cuter in the end too.
 Break the bark and popcorn into chunks and drizzle the melted almond bark over the whole mixture, mixing the popcorn and chocolate bark as you pour the almond bark on.
 While the almond bark is still warm, sprinkle the Halloween sprinkles.
 I then spread it all back onto wax paper and put it in the freezer to harden.
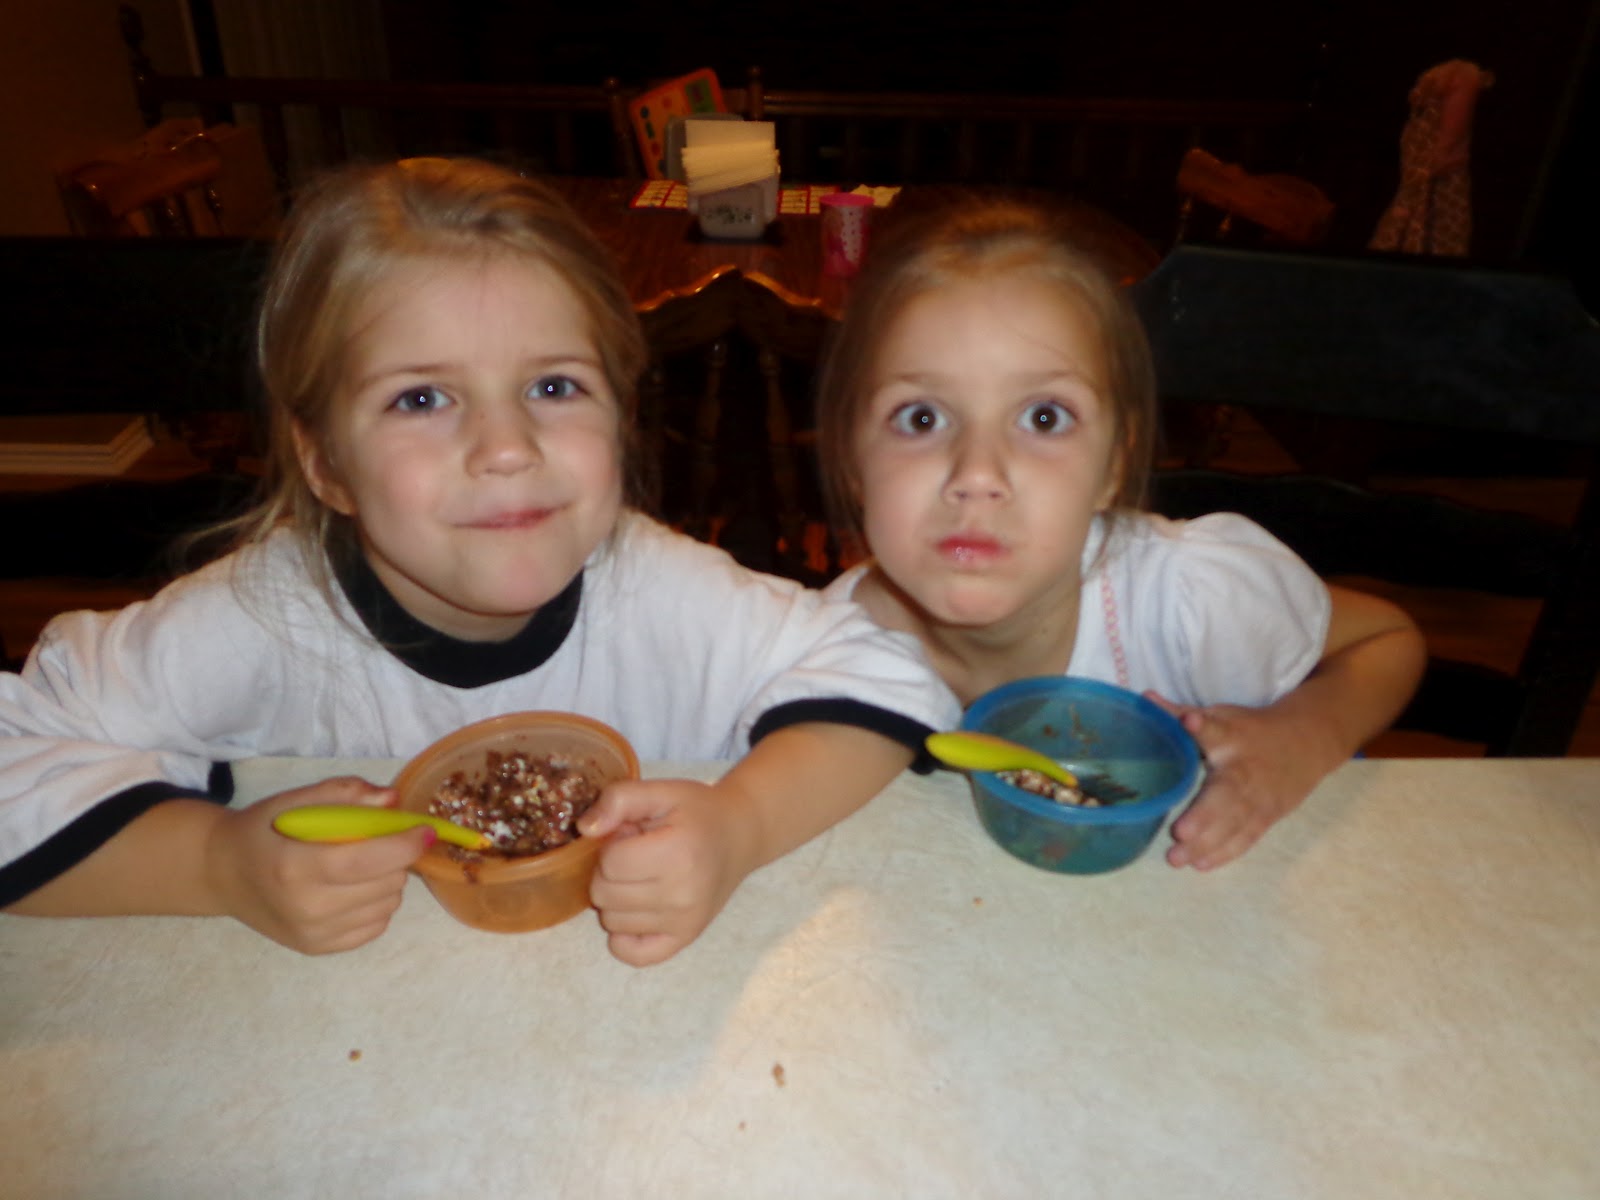
Then we ate our delicious treats. Again, the only mistake besides the smokehouse pretzels was not letting the different items cool before mixing it together. It tasted yummy regardless.