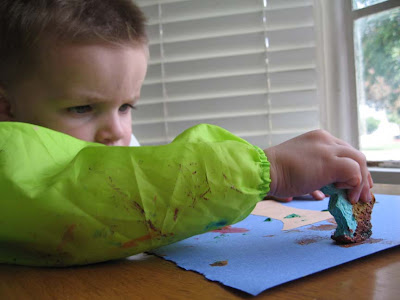
This is sort of similar to Nicole's Foam Stamping post, but different enough that I thought I would write it up. I got this idea from my sister who saw the final product adorning the walls of an elementary school. It was a success for her kids, but mine got too distracted. i recommend keeping the paint away from them as they are working until they are a bit older than my 2 1/2 year old.
 Supplies:
- construction paper (brown for tree trunk & any other color for background)
- scissors
- glue
- paint (washable if your kids are like mine!)
- a sponge
- plates or something similar to put paint on
I didn't take picture of this, but first you should cut up a sponge. I just used a little kitchen sponge, but any kind will do. I cut mine into leaf shapes thinking that my kids would print them that way. You can try that, but really just simple squares will do too.
 Next, cut out a tree trunk.
 Then glue it to the background page.
 Next, put a few colors of paint on a plate. These likely will get mixed, so don't expect the colors to stay all pretty and separated.
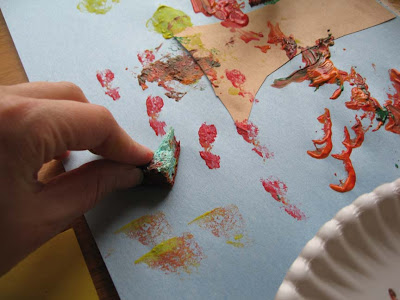
 Let your child dip the sponge into the paint. Again, I would suggest that you just move the plate near them when they are ready to dip, not just keeping it there to use when they want.
 You will likely need to demonstrate this and the next step to your child.
 Stamp the sponge up and down all over the area above the trunk. The texture of the sponge plus the different colors make the leaves look quite similar to what they are like in real life.
 Sometimes painting the leaves isn't enough. In the name of fun, I didn't stop the face painting...

3 comments:
The paintings look great and so does your little guy's face. Anything goes when your a kid having fun.
The picture of the face painting: priceless.
Great craft idea!
Cute pictures!! Love this idea
Post a Comment